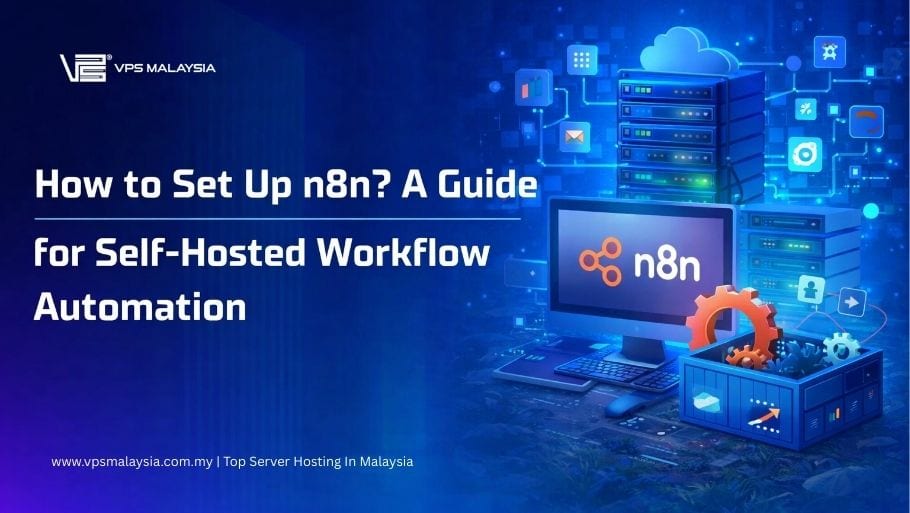
If you've ever wanted to automate repetitive tasks — syncing data between apps, sending notifications, processing forms, or orchestrating complex business workflows — n8n is one of the most powerful tools available today. It's an open-source, node-based workflow automation platform that gives you full control over your data and integrations.
Unlike SaaS-only automation tools such as Zapier or Make, n8n lets you self-host the entire platform on your own server or local machine. Your data stays inside your infrastructure, you avoid per-task pricing, and you can customise everything to your heart's content.
This guide walks through the whole process: choosing an installation method, installing n8n with npm or Docker Compose, securing it with HTTPS, connecting it to PostgreSQL, building your first workflow, and keeping it running 24/7.
What Is n8n?
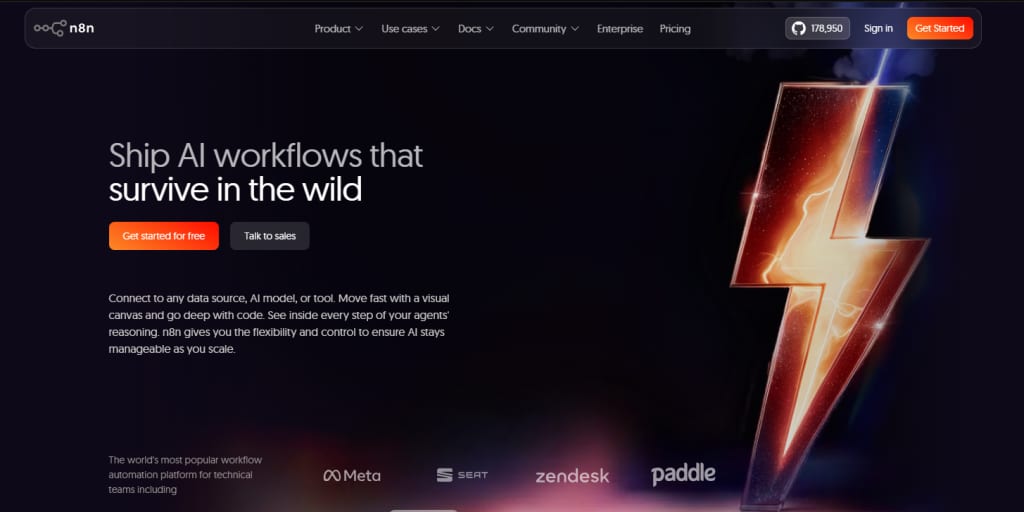
n8n (pronounced "n-eight-n") is a fair-code licensed workflow automation tool with a visual, drag-and-drop editor. It connects over 500 integrations — from Google Sheets and Slack to databases, AI models, APIs and custom webhooks — so you can build complex automations without writing much code, and drop into JavaScript or Python when you need to.
Should You Self-Host n8n or Use n8n Cloud?
Self-host n8n if you want full control, no execution limits and data that never leaves your own server; choose n8n Cloud if you'd rather pay for a managed service and skip server administration entirely. The two options break down like this:
- Self-hosted: You install and run n8n on your own server or machine. Full control, no usage limits, but you manage updates and infrastructure.
- n8n Cloud: Managed by n8n's team. Easy to get started, but subject to pricing tiers, and your data lives on their servers.
This guide focuses entirely on self-hosting, which is the preferred option for developers, DevOps teams and privacy-conscious users.
What Do You Need to Set Up n8n?
To set up n8n you need a Linux, macOS or Windows (WSL2) machine with at least 1 GB of RAM (2 GB recommended for production), 1 vCPU or more, about 10 GB of free disk space, and either Node.js or Docker installed. A domain name is optional but needed for HTTPS and webhooks.
Server or Local Machine Requirements
- OS: Ubuntu 22.04 or newer, Debian, macOS, or Windows via WSL2.
- RAM: minimum 1 GB (2 GB or more recommended for production).
- CPU: 1 vCPU minimum (2+ vCPUs recommended).
- Storage: at least 10 GB of free disk space.
Required Software
- Node.js between version 20.19 and 24.x — only for the npm method.
- Docker and Docker Compose — for the Docker methods.
- A domain name pointing to your server — optional, but required for remote access over HTTPS and for production webhooks.
Do You Need a VPS to Run n8n?
No — you can run n8n on your laptop for testing. But workflows only run while the machine is on, so for automations that must fire 24/7 you need an always-on server. A small VPS is the usual answer: VPS Malaysia's AI Automation VPS plans are sized exactly for self-hosted tools like n8n, with the server located in Malaysia for low local latency.
Which n8n Installation Method Should You Choose?
Use Docker Compose for any production setup — it is the installation method n8n's own documentation recommends, and it manages n8n and its database together. Use plain Docker for a quick single-container instance, and npm only for local testing, as npm-based installs are deprecated from n8n 3.0.
Option A: npm (Quickest for Local Testing)
Installing n8n via npm is the fastest way to try it. It requires only Node.js — you can even run npx n8n to test it without installing anything permanently. Note that n8n has deprecated npm-based installs from version 3.0, so treat this as a testing route, not a long-term setup.
Option B: Docker (Simple Single Container)
Running n8n as a Docker container isolates it from your host system, ensures consistent behaviour across environments, and makes updates as easy as pulling a new image.
Option C: Docker Compose (Recommended for Production)
Docker Compose lets you define a multi-container setup — n8n alongside a PostgreSQL database and other services — in a single configuration file. This is the method n8n recommends for self-hosting in production.
The table below summarises the trade-offs:
| Feature | npm | Docker / Docker Compose |
|---|---|---|
| Setup speed | Very fast | Fast |
| Best for | Local testing | Production |
| Data persistence | Limited (local SQLite) | Volume-based |
| Scalability | Low | High |
| Long-term support | Deprecated from n8n 3.0 | Recommended |
How Do You Install n8n with npm?
Installing n8n with npm takes four steps: install Node.js, install the n8n package globally, start the service, and open the dashboard in your browser. The whole process takes under ten minutes on a typical machine:
- Install Node.js (version 20.19–24.x).
- Run
npm install n8n -g. - Start n8n with
n8n start. - Open
http://localhost:5678and create your owner account.
Step 1: Install Node.js
Download and install Node.js from nodejs.org — n8n requires a version between 20.19 and 24.x. Verify the installation:
node --version
npm --version
Step 2: Install n8n Globally
Run the following command to install n8n as a global npm package:
npm install n8n -gThis downloads n8n along with all required dependencies. If you only want a quick look first, npx n8n downloads and starts n8n in one step without a permanent install.
Step 3: Start n8n
Once installed, start n8n with:
n8n startn8n will initialise and print startup logs. By default it listens on port 5678.
Step 4: Open the Dashboard
Open your browser and navigate to http://localhost:5678. You'll be greeted by the n8n setup wizard, where you create your owner account — n8n's built-in user management handles logins from here on.
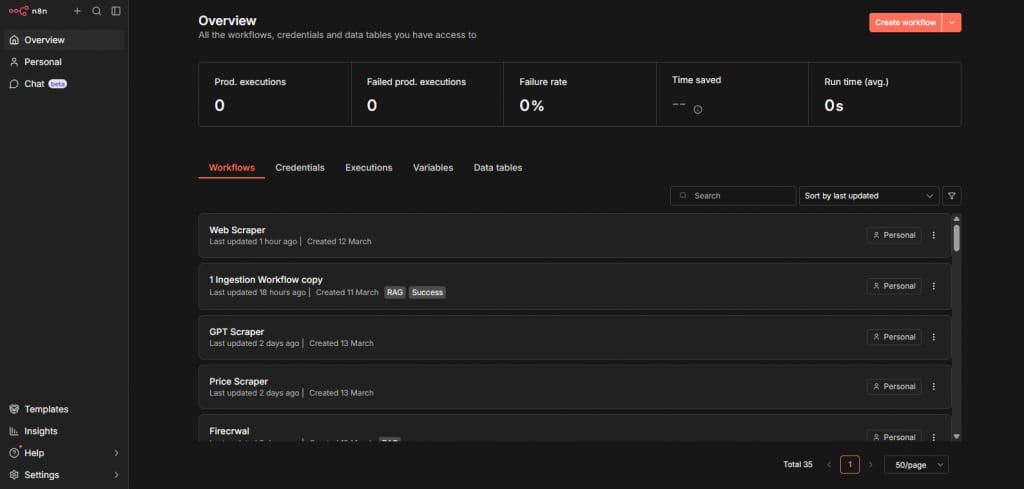
💡 Note: data is stored in SQLite by default (in the ~/.n8n directory). This is fine for testing, but not recommended for production — see the PostgreSQL section below.
How Do You Run n8n with Docker?
To run n8n with Docker, create a named volume for its data, then start the official n8nio/n8n image with port 5678 published and the volume mounted. Three commands get you a working instance:
- Create a volume:
docker volume create n8n_data. - Start the container with the volume and your timezone.
- Check it with
docker psand openhttp://localhost:5678.
Step 1: Create a Volume for Persistent Data
A named volume keeps your workflows and credentials safe across container restarts and updates:
docker volume create n8n_dataStep 2: Run the Container
Start n8n with the volume mounted and your timezone set (replace Asia/Kuala_Lumpur with your own timezone if different):
docker run -it --rm \
  --name n8n \
  -p 5678:5678 \
  -e GENERIC_TIMEZONE="Asia/Kuala_Lumpur" \
  -e TZ="Asia/Kuala_Lumpur" \
  -e N8N_ENFORCE_SETTINGS_FILE_PERMISSIONS=true \
  -v n8n_data:/home/node/.n8n \
  n8nio/n8n
Breaking this down:
-p 5678:5678— maps the container port to your host machine.-e GENERIC_TIMEZONE/-e TZ— set the timezone n8n uses for schedule triggers and for system commands.-e N8N_ENFORCE_SETTINGS_FILE_PERMISSIONS=true— enforces secure permissions on n8n's configuration file.-v n8n_data:/home/node/.n8n— persists n8n's data in the named volume.--rm— removes the stopped container (your data survives in the volume; drop this flag together with-itand add a restart policy when running long-term).
Step 3: Verify It's Running
Check that the container is active:
docker psYou should see the n8n container listed. Open http://localhost:5678 to access the UI.
How Do You Set Up n8n with Docker Compose?
Docker Compose is the most robust way to self-host n8n: one YAML file defines n8n and its PostgreSQL database, so the whole stack starts, stops and updates together. Three steps take you from an empty directory to a running production-style instance:
- Create a
docker-compose.ymlfile describing the n8n and PostgreSQL services. - Start everything with
docker compose up -d. - Verify both services with
docker compose ps.
Step 1: Create the docker-compose.yml File
Create a new directory for your n8n setup and open a new docker-compose.yml file:
mkdir n8n-setup && cd n8n-setup
nano docker-compose.yml
Paste the following configuration, replacing your-domain.com, the password and the timezone with your own values:
services:
  n8n:
    image: n8nio/n8n
    restart: unless-stopped
    ports:
      - "5678:5678"
    environment:
      - N8N_HOST=your-domain.com
      - N8N_PROTOCOL=https
      - WEBHOOK_URL=https://your-domain.com/
      - GENERIC_TIMEZONE=Asia/Kuala_Lumpur
      - TZ=Asia/Kuala_Lumpur
      - DB_TYPE=postgresdb
      - DB_POSTGRESDB_HOST=postgres
      - DB_POSTGRESDB_DATABASE=n8n
      - DB_POSTGRESDB_USER=n8n
      - DB_POSTGRESDB_PASSWORD=your_password
    volumes:
      - n8n_data:/home/node/.n8n
    depends_on:
      postgres:
        condition: service_healthy

  postgres:
    image: postgres:18
    restart: unless-stopped
    environment:
      - POSTGRES_DB=n8n
      - POSTGRES_USER=n8n
      - POSTGRES_PASSWORD=your_password
      - PGDATA=/var/lib/postgresql/data
    volumes:
      - postgres_data:/var/lib/postgresql/data
    healthcheck:
      test: ["CMD-SHELL", "pg_isready -U n8n -d n8n"]
      interval: 5s
      timeout: 5s
      retries: 10

volumes:
  n8n_data:
  postgres_data:
💡 Note: keep the PGDATA line — PostgreSQL 18 changed its default data location, and setting it explicitly keeps the database inside the mounted volume. n8n maintains ready-made Compose configurations for different architectures in its official n8n-hosting repository if you want a more advanced starting point.
Step 2: Start All Services
docker compose up -dThe -d flag runs the services in detached (background) mode. Docker pulls the required images, waits for PostgreSQL to report healthy, and then starts n8n.
Step 3: Verify the Stack
docker compose psBoth the n8n and PostgreSQL services should show as running. Open http://localhost:5678 (or your domain, once the reverse proxy below is in place) to finish the setup wizard.
How Do You Configure n8n for Production?
Running n8n on a public server needs three more things: a reverse proxy in front of it, an HTTPS certificate, and the right environment variables. Together they make your instance reachable at your own domain and keep credentials and webhook traffic encrypted.
Set Up a Reverse Proxy with Nginx
A reverse proxy sits in front of n8n and handles HTTPS and WebSocket upgrades. Here's a basic Nginx server block:
server {
    server_name your-domain.com;
    location / {
        proxy_pass http://localhost:5678;
        proxy_http_version 1.1;
        proxy_set_header Upgrade $http_upgrade;
        proxy_set_header Connection 'upgrade';
        proxy_set_header Host $host;
        proxy_cache_bypass $http_upgrade;
    }
}
Enable HTTPS with Let's Encrypt
Install Certbot and obtain a free SSL certificate:
sudo apt install certbot python3-certbot-nginx
sudo certbot --nginx -d your-domain.com
Certbot automatically configures HTTPS in your Nginx config and sets up certificate auto-renewal.
Which Environment Variables Matter Most?
These are the variables you'll set most often on a self-hosted instance:
- N8N_HOST — your domain name.
- N8N_PROTOCOL — set to
httpsfor production. - WEBHOOK_URL — the full public URL, including
https://, so webhook nodes register the right address. - GENERIC_TIMEZONE and TZ — the timezone used by schedule triggers and system commands.
- N8N_ENCRYPTION_KEY — the secret n8n uses to encrypt stored credentials; n8n generates one automatically, but set it explicitly if you deploy from configuration.
- N8N_ENFORCE_SETTINGS_FILE_PERMISSIONS — set to
trueto enforce secure permissions on the settings file.
You don't need a separate password layer for the UI: the setup wizard creates an owner account, and n8n's built-in user management controls access from there. The full variable reference lives in the official docs at docs.n8n.io.
Why Use PostgreSQL Instead of SQLite?
Use PostgreSQL for any production n8n instance because SQLite, the default, struggles with concurrent workflow executions and is harder to back up safely. PostgreSQL gives you:
- Better performance under concurrent load.
- Simple backups with standard tools such as
pg_dump. - The reliability needed for multi-user or team setups.
- A stable base for long-running production instances.
How Do You Point n8n at PostgreSQL?
Add these environment variables to your n8n service (the Docker Compose file above already includes them):
DB_TYPE=postgresdb
DB_POSTGRESDB_HOST=postgres
DB_POSTGRESDB_PORT=5432
DB_POSTGRESDB_DATABASE=n8n
DB_POSTGRESDB_USER=n8n
DB_POSTGRESDB_PASSWORD=your_secure_password
n8n runs its database migrations automatically on startup — no manual SQL scripts are required. Simply start n8n and it creates all necessary tables. Note that an existing SQLite database does not carry over automatically; switch to PostgreSQL before you build workflows you want to keep.
How Do You Create Your First n8n Workflow?
Every n8n workflow follows the same pattern: start a new workflow, add a trigger node that decides when it runs, connect action nodes that do the work, then test and activate it. Here it is step by step:
- Click + New Workflow in the dashboard.
- Add a trigger node (Schedule, Webhook, or Manual).
- Connect one or more action nodes.
- Execute the workflow to test it, then toggle it Active.
Step 1: Open the Workflow Editor
Log in to your n8n instance and click the + New Workflow button in the top-right corner. A blank canvas opens.
Step 2: Add a Trigger Node
Every workflow starts with a trigger. Click the + button to open the node panel and pick one of the most common triggers:
- Schedule Trigger — runs your workflow at set intervals (for example, every hour).
- Webhook — fires when an external service sends an HTTP request.
- Manual Trigger — lets you run the workflow on demand for testing.
Step 3: Connect Action Nodes
Add action nodes to perform tasks, and drag a line from the trigger's output to each node's input to connect them. Popular choices include:
- HTTP Request — call any REST API.
- Gmail — send or read emails.
- Slack — send messages to channels.
- Google Sheets — read or write spreadsheet data.
- Code — run custom JavaScript or Python.
Step 4: Test and Activate
Click Execute Workflow to test the workflow manually and inspect the data each node produces. Once you're satisfied, toggle the Active switch in the top-right corner — n8n now runs the workflow automatically whenever your trigger fires.
How Do You Keep n8n Running 24/7?
For n8n to run workflows reliably, the process must survive crashes and server reboots. How you do that depends on how you installed it: PM2 for npm installs, a restart policy for Docker, or a systemd service on a Linux server.
For npm Installs: Use PM2
npm install -g pm2
pm2 start n8n
pm2 save
pm2 startup
PM2 automatically restarts n8n if it crashes and launches it again on server boot.
For Docker: Set a Restart Policy
In your docker-compose.yml or docker run command, set the restart policy:
restart: unless-stoppedThis ensures n8n restarts automatically after crashes or reboots, unless you stop it manually. The Compose file earlier in this guide already sets it for both services.
For Linux Servers: Use systemd
If you run n8n directly on a Linux server without Docker, create a service file at /etc/systemd/system/n8n.service so the init system manages it. Then enable and start it with systemctl enable n8n and systemctl start n8n — systemd will bring n8n back up after every reboot.
Final Thoughts: Your Self-Hosted n8n Checklist
You now have a fully self-hosted n8n instance up and running — and everything it needs to stay that way. Here's what this guide covered:
- Chose the right deployment method for your needs (npm, Docker, or Docker Compose).
- Installed n8n on your server or local machine.
- Set up HTTPS with an Nginx reverse proxy for production security.
- Connected n8n to PostgreSQL for reliable data storage.
- Built and activated your first automated workflow.
- Configured process management to keep n8n running 24/7.
From here, the value comes from what you automate. Start with one repetitive task you do every week, rebuild it as a workflow, and grow from there — most teams find that the second and third workflows come much faster than the first.
What Should You Explore Next?
- Browse pre-built workflows in the template library at n8n.io/workflows.
- Explore the 500+ built-in integrations in the node panel.
- Set up sub-workflows to modularise complex automations.
- Configure multi-user access for your team.
- Join the community forum at community.n8n.io to share workflows and get help.
And if you'd rather not babysit a server at all, host n8n on a Malaysian VPS built for it: the AI Automation VPS plans give you full control of your own server with NVMe SSD storage, so the setup in this guide works exactly as written.